

Initial Snowflake Setup
Before we jump into making our snowflake agent, lets go through the initial setup.
Auth Setup
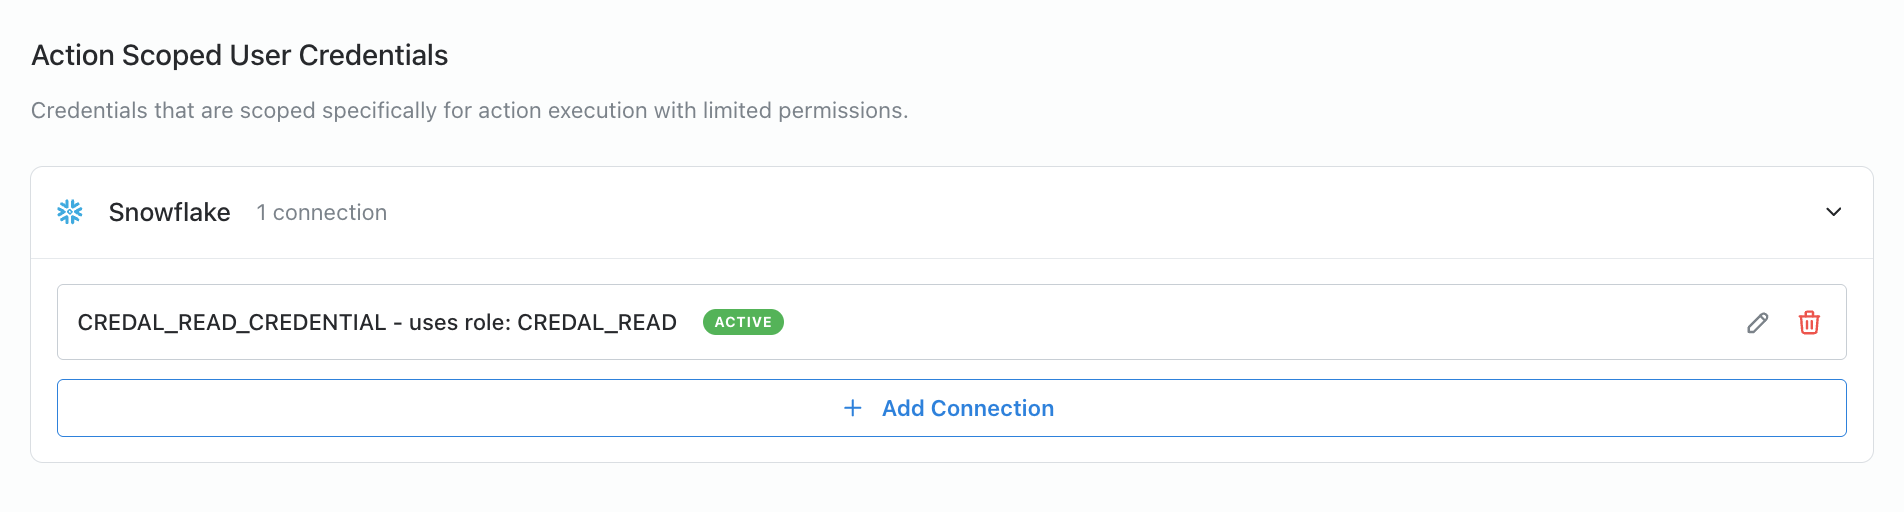
Section titled “Auth Setup”- To connect to snowflake you'll need to generate a role on snowflake, attach a user to that role, and use private key-pair auth to add that role to snowflake.
- You can have multiple snowflake credentials in credal each tied to their own snowflake user/role to ensure secure access.
1. Create a role in snowflake which will control read access to tables/views (e.g CREDAL_READ)
Section titled “1. Create a role in snowflake which will control read access to tables/views (e.g CREDAL_READ)”-- 1. Create the new Role
CREATE ROLE CREDAL_READ;
GRANT ROLE CREDAL_READ TO ROLE ACCOUNTADMIN;
-- 2. Grant the appropriate access to read database/schema/tables
GRANT USAGE ON DATABASE <database_name> TO ROLE CREDAL_READ;
GRANT USAGE ON ALL SCHEMAS IN DATABASE <database_name> TO ROLE CREDAL_READ;
GRANT USAGE ON WAREHOUSE <warehouse_name> TO ROLE CREDAL_READ;
GRANT SELECT ON ALL TABLES IN DATABASE <database_name> TO ROLE CREDAL_READ;
GRANT SELECT ON ALL VIEWS IN DATABASE <database_name> TO ROLE CREDAL_READ;
-- 3. Test that the role has the correct access (Optional).
USE ROLE CREDAL_READ;
SHOW SCHEMAS IN DATABASE <database_name>;
SHOW TABLES;
SELECT * FROM <database_name>.INFORMATION_SCHEMAS.TABLES;2. Create a new User that is granted the CREDAL_READ role
Section titled “2. Create a new User that is granted the CREDAL_READ role”-- 1. Create the new User
CREATE USER CREDAL_USER; -- can be any username
...
GRANT ROLE CREDAL_READ TO USER CREDAL_USER;3. Setup Snowflake key pair authentication
Section titled “3. Setup Snowflake key pair authentication”- Follow this guide to setup key-pair auth: Snowflake Key Pair Auth
4. Add your snowflake credential on the [action provider page]
Section titled “4. Add your snowflake credential on the [action provider page]”- They will need the
Subdomain,Account Identifier,Username,Private KeyandSHA-256 Fingerprintto add the snowflake connection.
Implementation Steps
Section titled “Implementation Steps”Step 1: Create Your Agent
Section titled “Step 1: Create Your Agent”- Navigate to the Agents page and click "Create New Agent"
- Name your agent "Snowflake Data Extractor"
- Add this description:
This assistant helps employees query data from snowflake getting metrics, analysis and human-readable responses on the data.
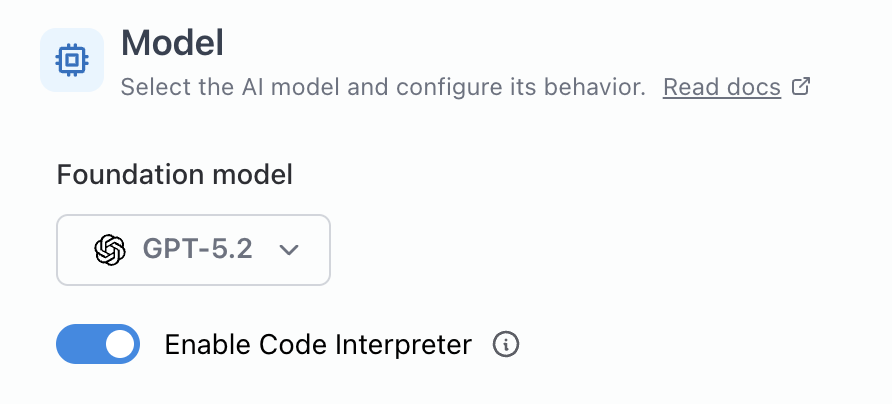
- Enable Code Interpreter (required for image generation)
Output from the runSnowflakeQuery Action is passed into Open AI Code Interpreter for image generation and analysis (depending on your parameter setup)
Tip: A detailed description helps users understand the purpose of your Agent.
Step 2: Create the runSnowflake Action
Section titled “Step 2: Create the runSnowflake Action”- Database: the default database to use when querying
- Warehouse: the compute warehouse to run your queries (will likely be hardcoded)
- Query: Depends on whether you take the Query Templates Approach or the Snowflake Views approach (explained more in next steps)
- Account Name: Your snowflake account name (will likely be hardcoded)
- Format: The format of your output
csvorjson(prefercsv) - Role: The role you would like to use with the credentials (optional)
- Limit (Optional): The limit on number of rows to return, anything over this limit will mention "data queried was too large"
- Code Interpreter Limit (Optional): The minimum number of rows required to pass to code interpreter for analysis (thinking models handle small sets of results (e.g < 100) better than code interpreter)
- Code Interpreter Image Gen Limit (Optional): The minimum number of rows required for image generation (in case you want thinking models for analysis and image generation for more than X results)
Step 3: Configure Access Control for Snowflake Credentials
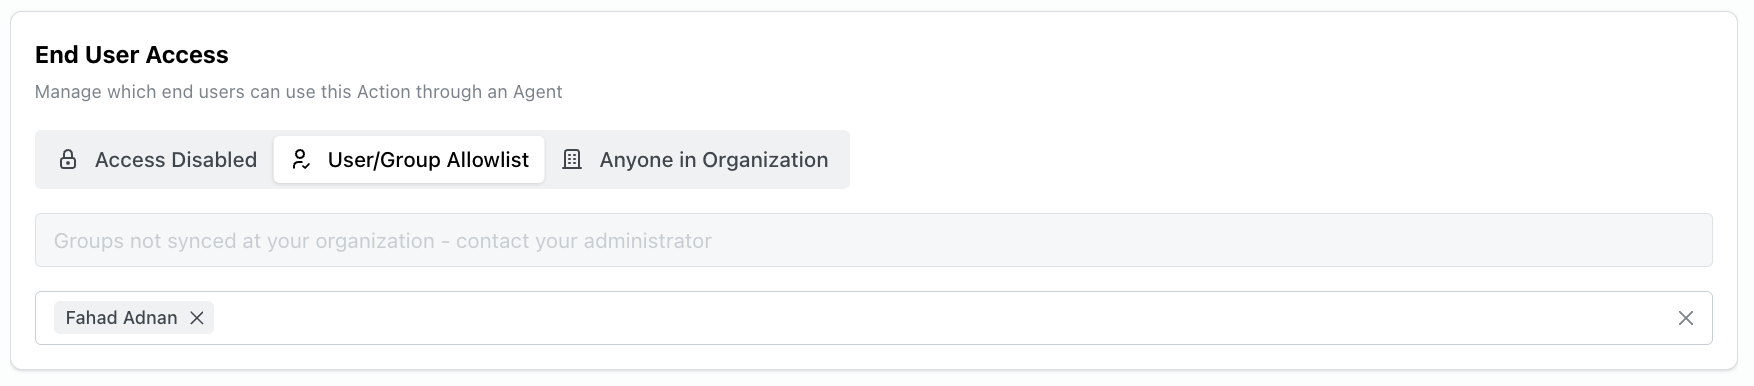
Section titled “Step 3: Configure Access Control for Snowflake Credentials”Access to Snowflake data is controlled at two levels:
- Credential Access:
- Only the creator of a Snowflake credential can attach it to an Action.
- Action Access:
- You can specify exactly which users or groups can use this Action through the End User Access settings
- This ensures that only authorized personnel can execute queries using the attached Snowflake credentials
Important Security Note: Any user with end-user access to an Action will be able to use the attached Snowflake credentials through that Action. Ensure you carefully manage the End User Access list to maintain proper data security.

Step 4: Model Choice
Section titled “Step 4: Model Choice”The base model you select will affect queries generated and analysis of results. It's recommended to use a thinking model with reasoning enabled for complex queries, however the model you select also depends on the query approach. You may want to use a smaller non-reasoning model for query templates which are more well defined compared to snowflake views.
Step 5: Choose your query approach
Section titled “Step 5: Choose your query approach”Right now there are 2 approaches to querying snowflake for data
-
1. Query Templates
Section titled “1. Query Templates” -
2. Snowflake Views
Section titled “2. Snowflake Views”
Each one has their own pros and cons and will likely be use-case dependant. Read about each approach and implementation steps in Query Approaches.
Next Step
Section titled “Next Step”Continue to Query Approaches to compare query templates versus Snowflake views and choose the implementation pattern that fits your use case.